Customised Pose Inputs in EchoMimicV2 | Portrait Animation Series 2

This article explores how to set customised pose inputs in EchoMimicV2.
When you can run EchoMimicV2 on your own PC, you may also want to explore the pose format and use customised pose inputs instead of the default ones.

Explore the default pose inputs
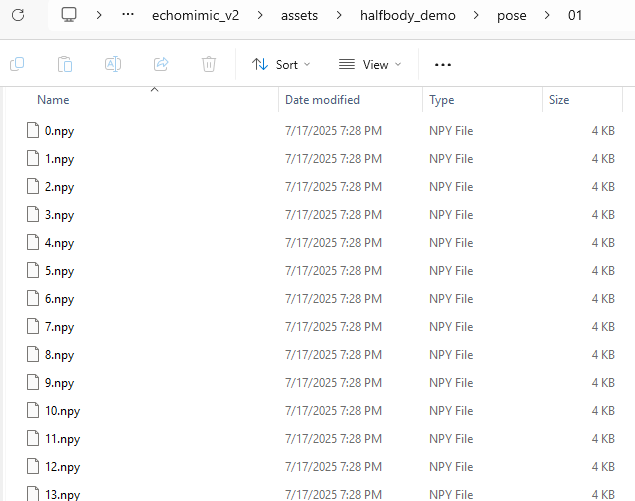
In the folder assets/halfbody_demo/pose , there are folders containing the default poses. First we need to have a better understanding of those files.

Pose files are keypoint data (saved as .npy ) and are then passed into the Pose Encoder. Each npy file contains information of one frame.
Write a script experiments/explore_npy.py to explore the pose data:
from pathlib import Path
import numpy as np

pose_folder = Path.cwd().parent / "assets/halfbody_demo" / "pose" / "01" / "100.npy"
sample = np.load(pose_folder, allow_pickle=True).item()
print("keys:", list(sample))
# keys: ['bodies', 'hands', 'hands_score', 'faces', 'faces_score', 'num', 'draw_pose_params']

How to Generate Our Own Pose Input?
I processed a video from ViCo-X (its resolution is 1022*1022). The resolution does not matter, because DWPose returns normalized keypoints (0–1). You do not have to resize the detector input; you only need the pose canvas to be 768×768.
But make sure your video has only one person.

In the root of the repository, run this command to download weights for DWPose:
git clone https://huggingface.co/yzd-v/DWPose pretrained_weights/DWPose
Then run the script experiments/construct_npy.pyto generate your own npy files:
# experiments/construct_npy.py
from pathlib import Path
import cv2, numpy as np
from src.models.dwpose.dwpose_detector import DWposeDetector

root = Path(__file__).resolve().parents[1]  # repo root
weights_dir = root / "pretrained_weights" / "DWpose"
model_det = weights_dir / "yolox_l.onnx"  # detector
model_pose = weights_dir / "dw-ll_ucoco_384.onnx"  # pose head

assert model_det.exists(), f"Missing: {model_det}"
assert model_pose.exists(), f"Missing: {model_pose}"

det = DWposeDetector(str(model_det), str(model_pose), device='cuda')

video = root / "assets" / "halfbody_demo" / "video" / "sample.mp4"
out_dir = root / "outputs" / "pose" / "sample"
out_dir.mkdir(parents=True, exist_ok=True)

cap = cv2.VideoCapture(str(video))
i = 0
while True:
    ok, frame_bgr = cap.read()
    if not ok:
        break
    frame_rgb = cv2.cvtColor(frame_bgr, cv2.COLOR_BGR2RGB)

    pose = det(frame_rgb)  # dict with bodies/hands/faces(+scores)
    TARGET_H = TARGET_W = 768  # desired pose canvas size
    pose["draw_pose_params"] = [TARGET_H, TARGET_W, 0, TARGET_H, 0, TARGET_W]  # (imh, imw, rb, re, cb, ce) -> full frame

    np.save(out_dir / f"{i}.npy", pose, allow_pickle=True)
    i += 1

cap.release()
print(f"Saved {i} frames to: {out_dir}")
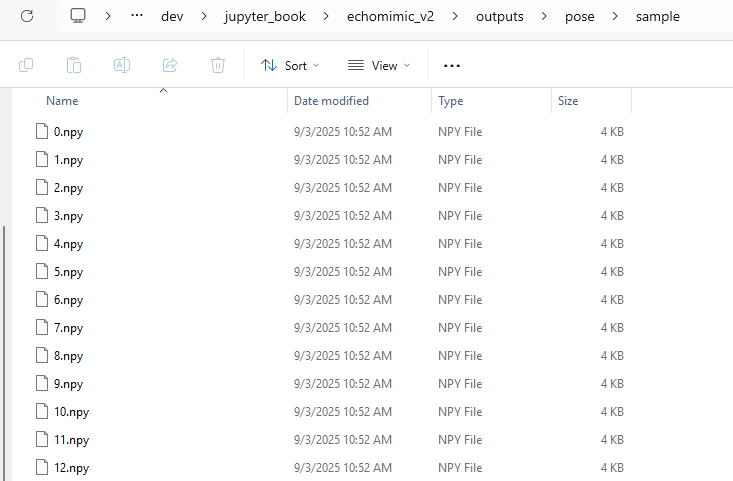
This will save npy files into outputs/pose/sample:
Now, following the instructions from my previous post.
Run the app.py script to launch the server.
Set the pose folder to your own one:

Finally, generate the video:
Now, this video will be conditioned on our own pose inputs.
In the future article, we will dive in and understand how those pose inputs actually work in the EchoMimicV2 pipeline.
If you found this article helpful, please show your support by clicking the clap icon 👏 and following me 🙏. Thank you for taking the time to read it, and have a wonderful day!
References
- Meng, R., Zhang, X., Li, Y., & Ma, C. (2025). Echomimicv2: Towards striking, simplified, and semi-body human animation. In Proceedings of the Computer Vision and Pattern Recognition Conference (pp. 5489–5498).
- https://github.com/he-yulong/echomimic_v2/tree/windows
- VICO-X